Eye Makeup for Hooded Eyes: the Techniques Nobody Teaches You
Six techniques that makeup artists who specialize in hooded eyes actually use — and that don't show up in any mainstream YouTube tutorial.
If you blend a beautiful eyeshadow gradient and ten minutes later it has vanished into your eyelid crease, it's not you. It's your eye shape that has its own brief — and most YouTube tutorials pretend it doesn't exist. Here are the six techniques that makeup artists who specialize in hooded eyes actually use, and that you've probably never seen in a Sephora tutorial.
First: what counts as a hooded eye exactly
A hooded eye means that your mobile upper lid is partially or fully hidden by the skin of your brow bone when your eye is open. The direct consequence: any shadow applied in your natural crease disappears as soon as you open your eye. Classic tutorials place color in the crease — for you, that's like painting behind a curtain. You need an entirely different logic.
Technique 1: the "false crease" drawn higher
The paradoxical rule: for a shadow to be visible on a hooded eye, it must NOT be placed in your real crease. Draw a phantom line 5-7 mm above your natural crease, eyes open. That's where you'll blend your dark shadow. Close your eye to see an exaggerated gradient, open it, the result looks "normal" — exactly what we're after.
“Hooded eye makeup is optical illusion. You don't make up the eye as it is, you make it up as you want it to be perceived.”
Technique 2: the upward-extending liner
Forget the classic horizontal cat-eye — it tucks into the hood and disappears. Instead, draw your liner from the center of the lid and angle it diagonally toward the tail of the brow. This extension must be visible eyes open. It's what's called the "fox eye liner" and it's the signature of makeup artists who specialize in hooded eyes — Tina Yong, Stephanie Lange and Reezy Resells popularized it on YouTube.
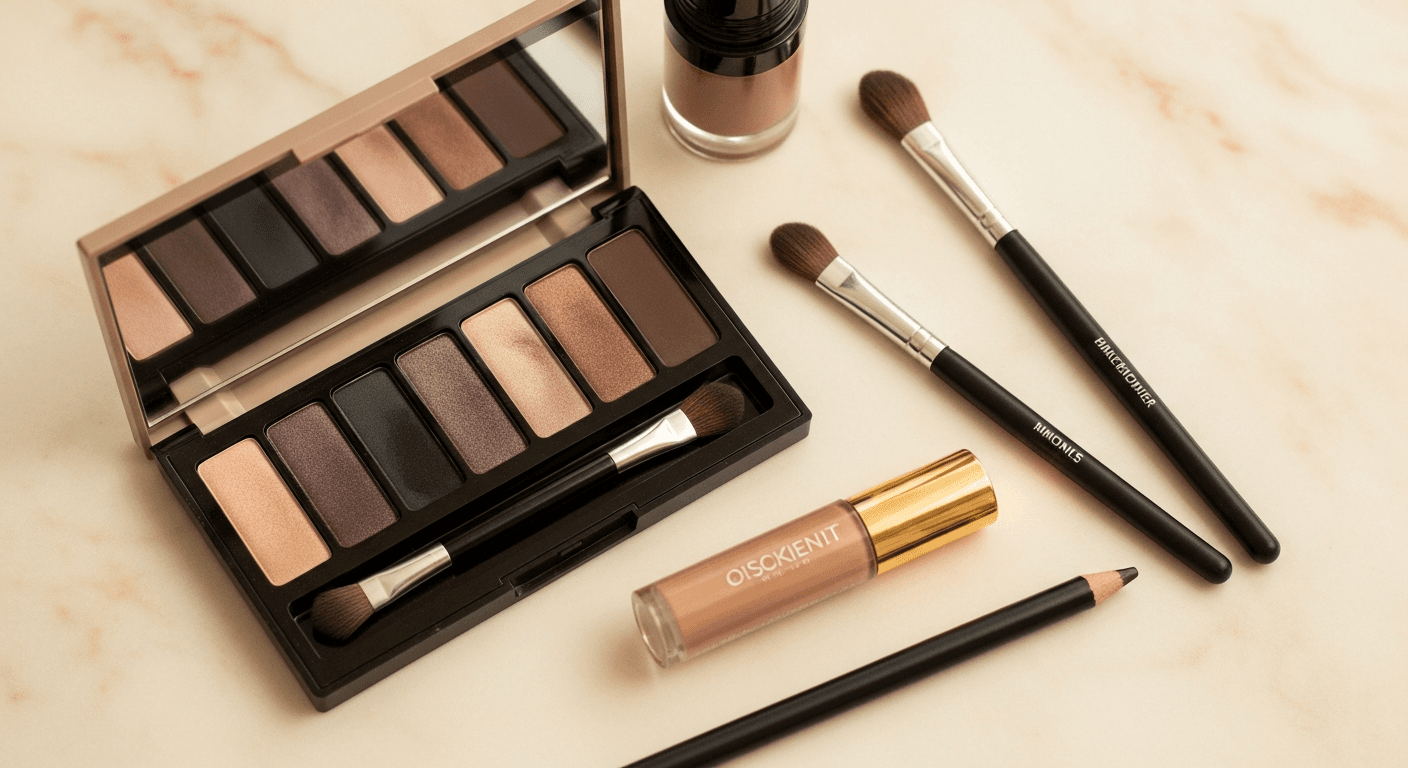
Technique 3: the anti-migration primer base
Non-negotiable: without an eyeshadow primer, you'll be reapplying every two hours. Urban Decay Eyeshadow Primer Potion remains the reference — it creates a silicone layer that prevents shadow from melting into the lid crease. A thin layer, wait 30 seconds to set, then shadow. Wear: 12 hours and more with zero migration, guaranteed.
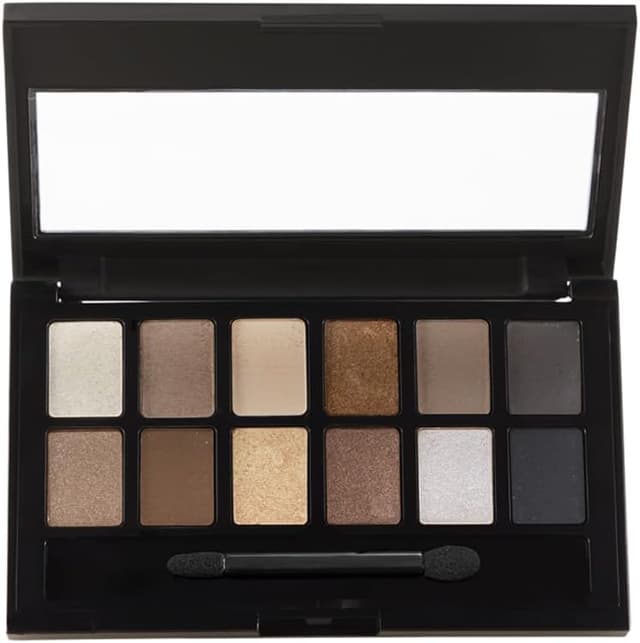
Maybelline The Nudes — 12 shades
12 nude shades for everyday wear: matte, satin, glossy. The versatile beginner palette — from casual nude to soft smoky.
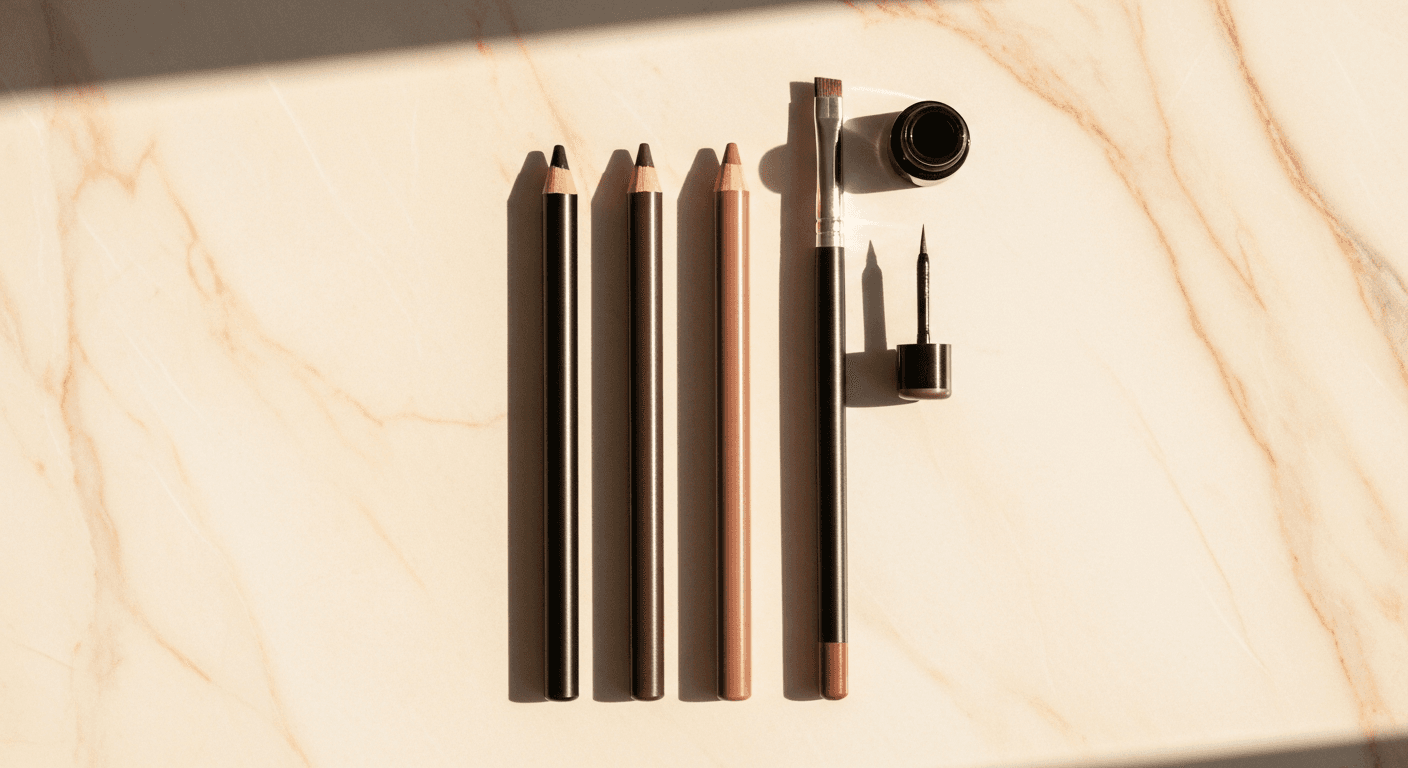
Technique 4: the tightlining that opens the eye
Tightlining means laying a black or brown pencil directly on the upper waterline — the lash line on the inner side. On hooded eyes, it densifies the lash root without encroaching on the already-limited mobile lid space. Effect: deeper gaze, naturally thicker lashes, no shadow wasted.
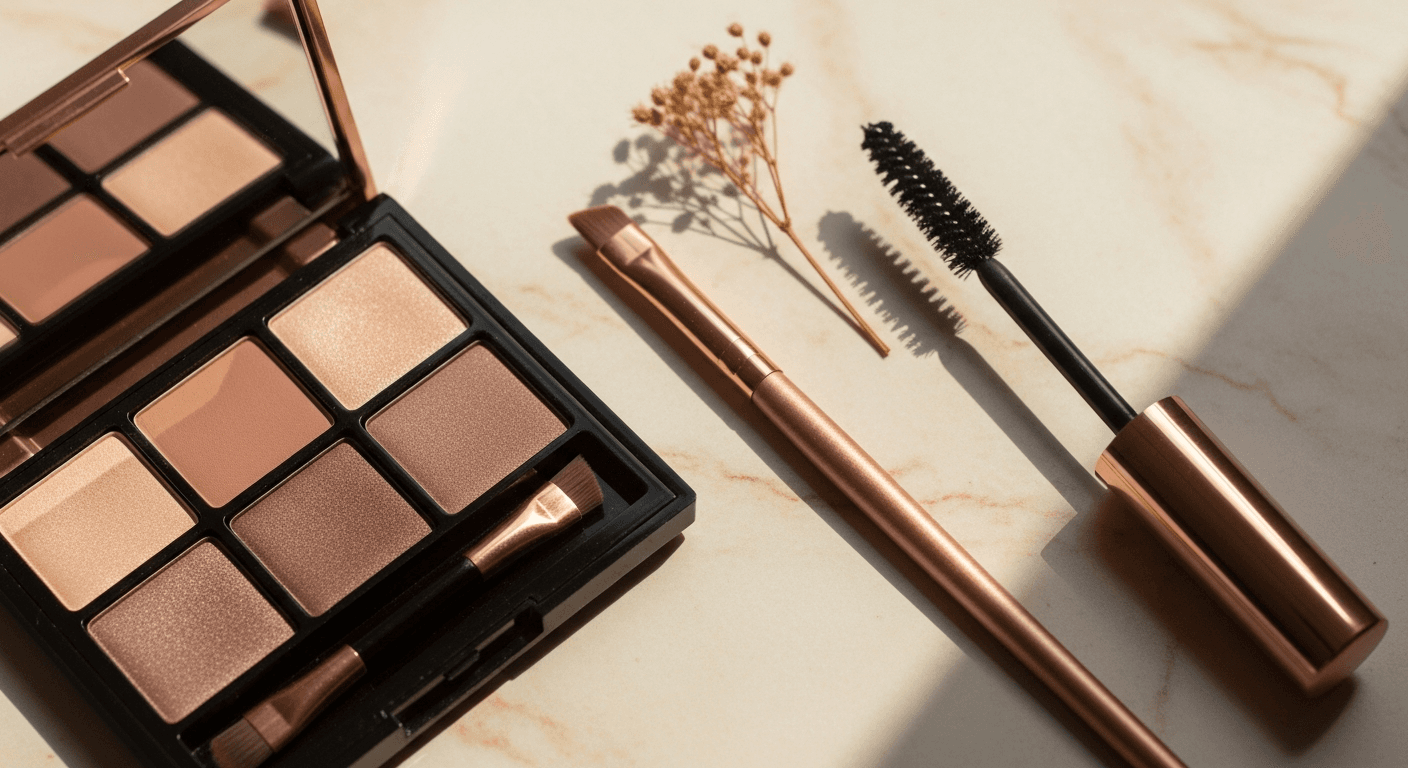
Technique 5: the lash curl with lifting mascara
On hooded eyes, straight or downward-pointing lashes close the eye even more. The sacred sequence: lash curler for ten seconds minimum (never less), Maybelline Lash Sensational on lower and upper lashes, two coats. The palm-shaped Lash Sensational brush separates and lifts without that "spider leg" weight that drags the eye down.
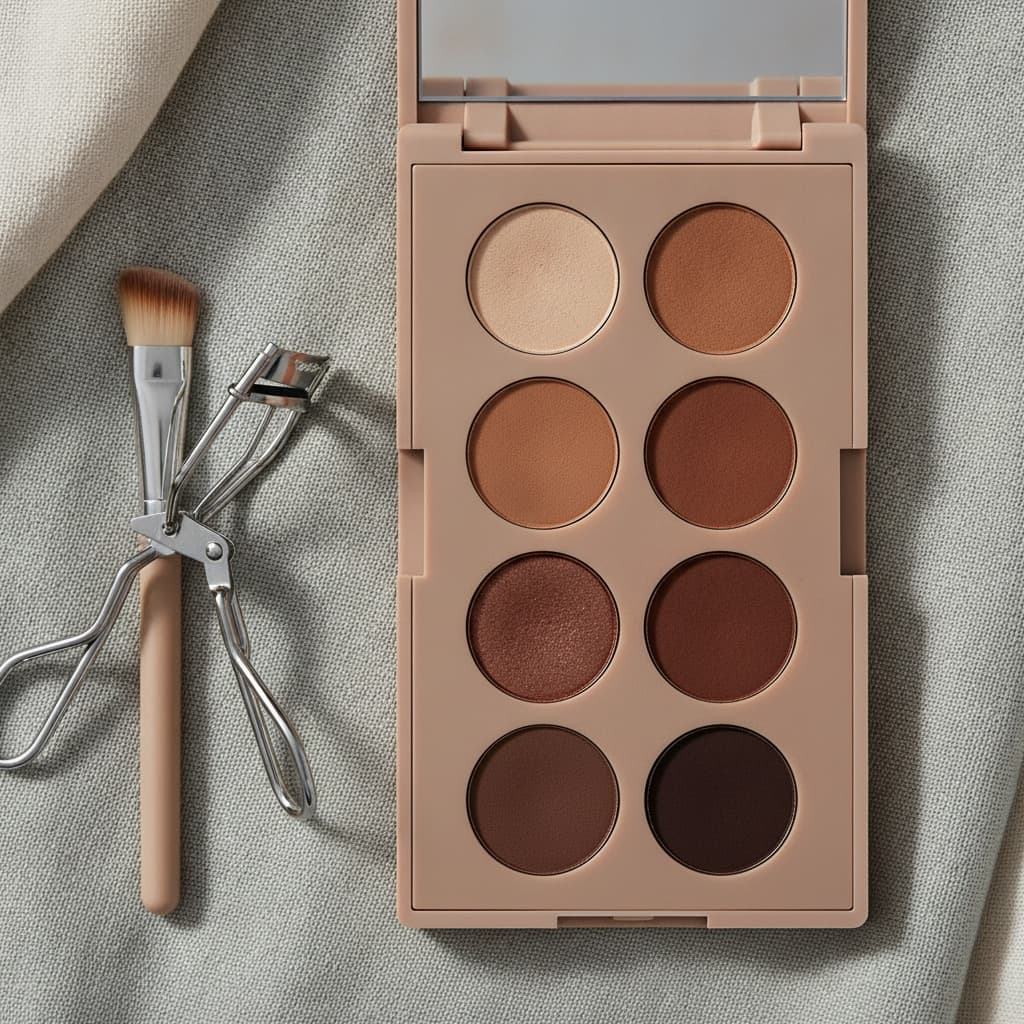
Technique 6: where to place shimmer (and where definitely not)
Mistake number one on hooded eyes: shimmer all over the lid. All the shimmer disappears into the crease. The rule: shimmer in only two spots — inner corner of the eye (to open the gaze) and on the exact center of the mobile lid (a small precise dot, tapped with the finger). Never on the fixed lid above the crease. Never on the brow bone. That precision is what tips the look into "polished" vs "overdone".